Configuring Workload identity federation between GCP and AWS EKS
August 4, 2022

- Name
- Daniel Spangenberg
- @spangenberg_d
Workload identity federation is the process of impersonating an identity in one cloud provider from the other without long lived keys. In this blog post we will walk through how to setup federation between a workload running on AWS EKS (In this case CloudQuery so you can also fetch configuration from your GCP accounts) to GCP.
Step 1: Create AWS IAM Role
In our example we run CloudQuery on AWS EKS with the official CloudQuery Helm Charts. We must create an Amazon EKS cluster IAM role or an Amazon EKS node IAM role. How to do so can be looked up in the AWS documentation depending on which service role is preferred.
Step 2: Enable Additional GCP Services
The Security Token Service API and the IAM Service Account Credentials API need to be enabled in our GCP project.
gcloud services enable sts.googleapis.com
gcloud services enable iamcredentials.googleapis.com
Step 3: Create GCP Service Account
Now we need to create the GCP Service Account which CloudQuery will authenticate with in order to fetch the GCP resources.
gcloud iam service-accounts create cq-fetcher \
    --description="CloudQuery fetcher which runs on AWS." \
    --display-name="cq-fetcher"
We need to ensure that the new Service Account has the appropriate permissions to View the desired projects in GCP.
Step 4: Create GCP Workload Identity Pool
Next, we need to create the GCP Workload Identity Pool.
gcloud iam workload-identity-pools create cq-aws-pool \
    --description="Workload Identity Pool for CloudQuery on AWS." \
    --display-name="CloudQuery GCP AWS Workload Identity Pool" \
    --location="global"

Step 5: Create Workload Identity Provider
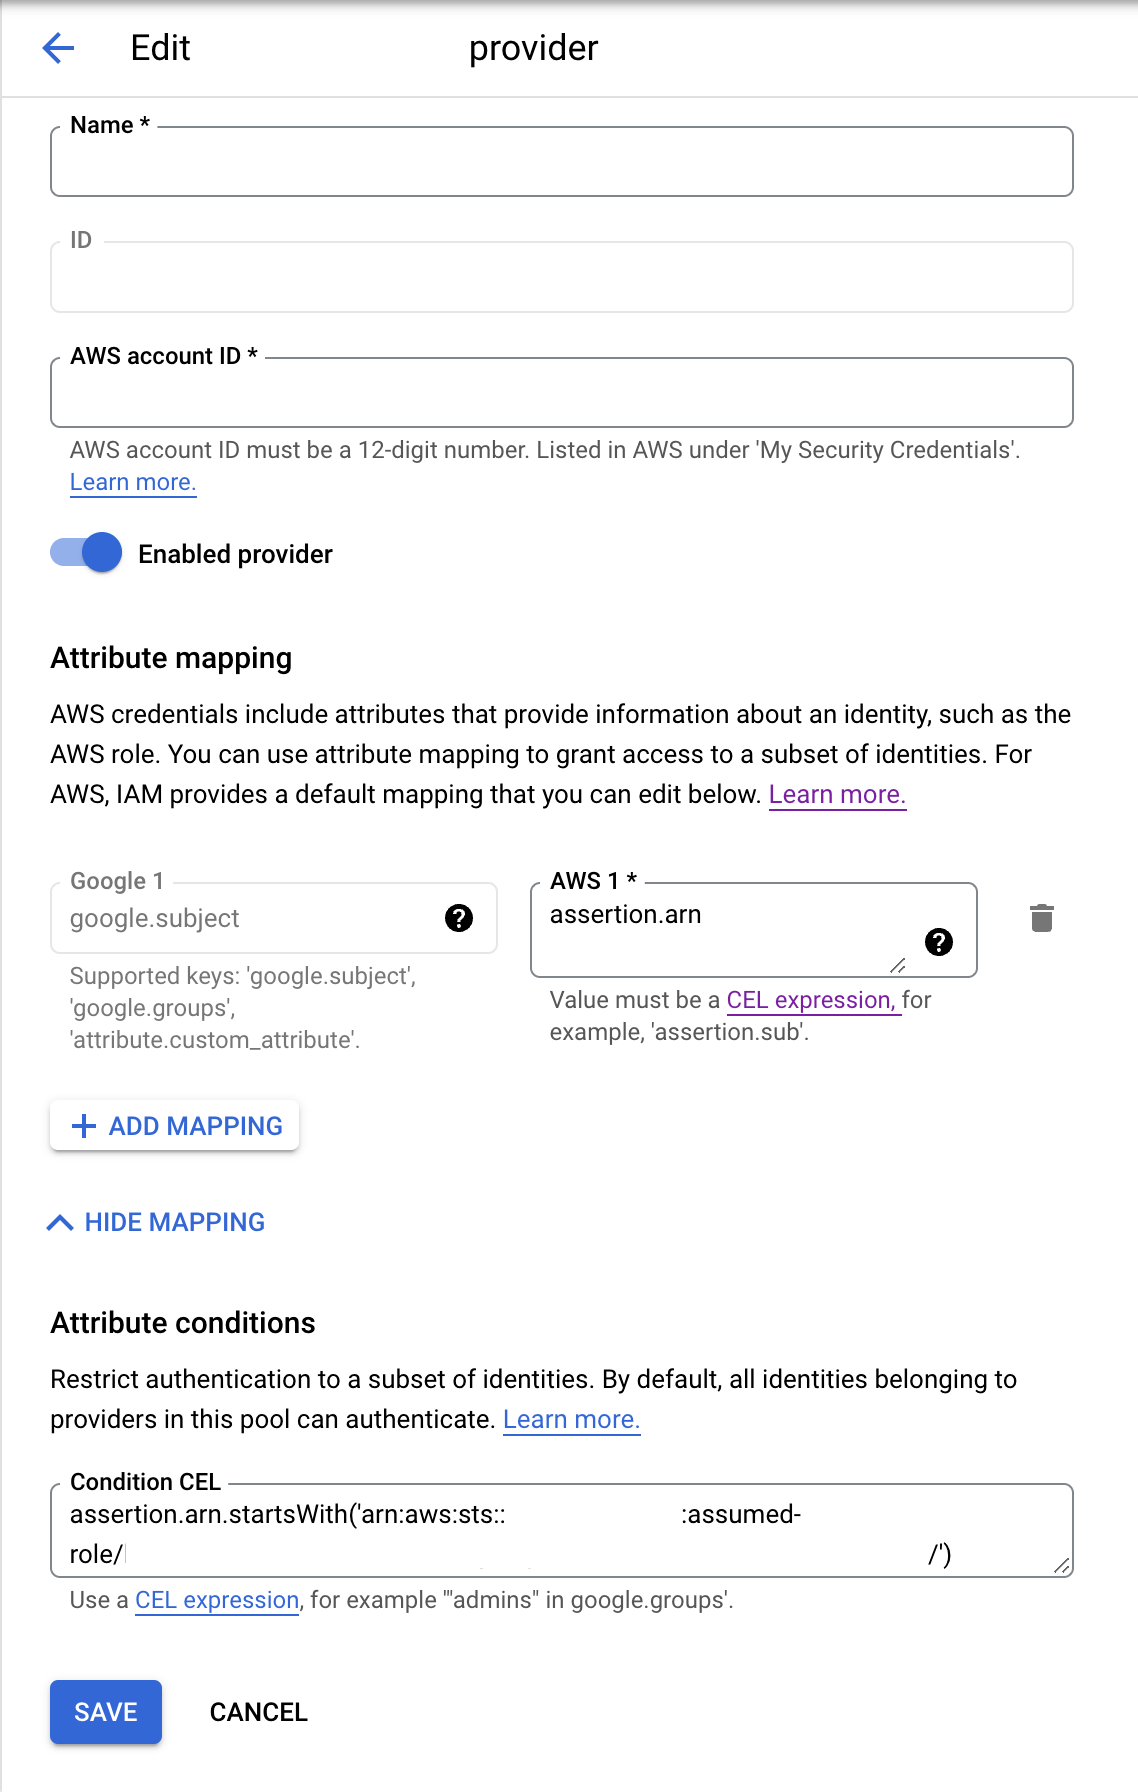
After creating the GCP Workload Identity Pool we need to create the Workload Identity Provider. This example does not cover how to harden the Identity Provider, which can be achieved by passing the --attribute-condition flag.
gcloud iam workload-identity-pools \
    providers create-aws cq-aws-provider  \
    --account-id=123456789012 \
    --description="Workload Identity Provider for CloudQuery on AWS." \
    --display-name="CloudQuery GCP AWS Workload Identity Provider" \
    --location="global" \
    --workload-identity-pool="cq-aws-pool"

Step 6: Bind GCP Service Account Impersonation
Now we allow any AWS role from this pool to impersonate the GCP Service Account we created earlier by binding the IAM role roles/iam.workloadIdentityUser to the GCP service account. The number in the -member flag needs to be the GCP Project number. Please consider adjusting the -member flag as well for additional security. More information can be found in the Service account impersonation section of Google Cloud Docs.
gcloud iam service-accounts add-iam-policy-binding \
    cq-fetcher@example-project.iam.gserviceaccount.com \
    --member "principalSet://iam.googleapis.com/projects/123456789012/locations/global/workloadIdentityPools/cq-aws-pool/*" \
    --role "roles/iam.workloadIdentityUser"
Step 7: Download Client library config
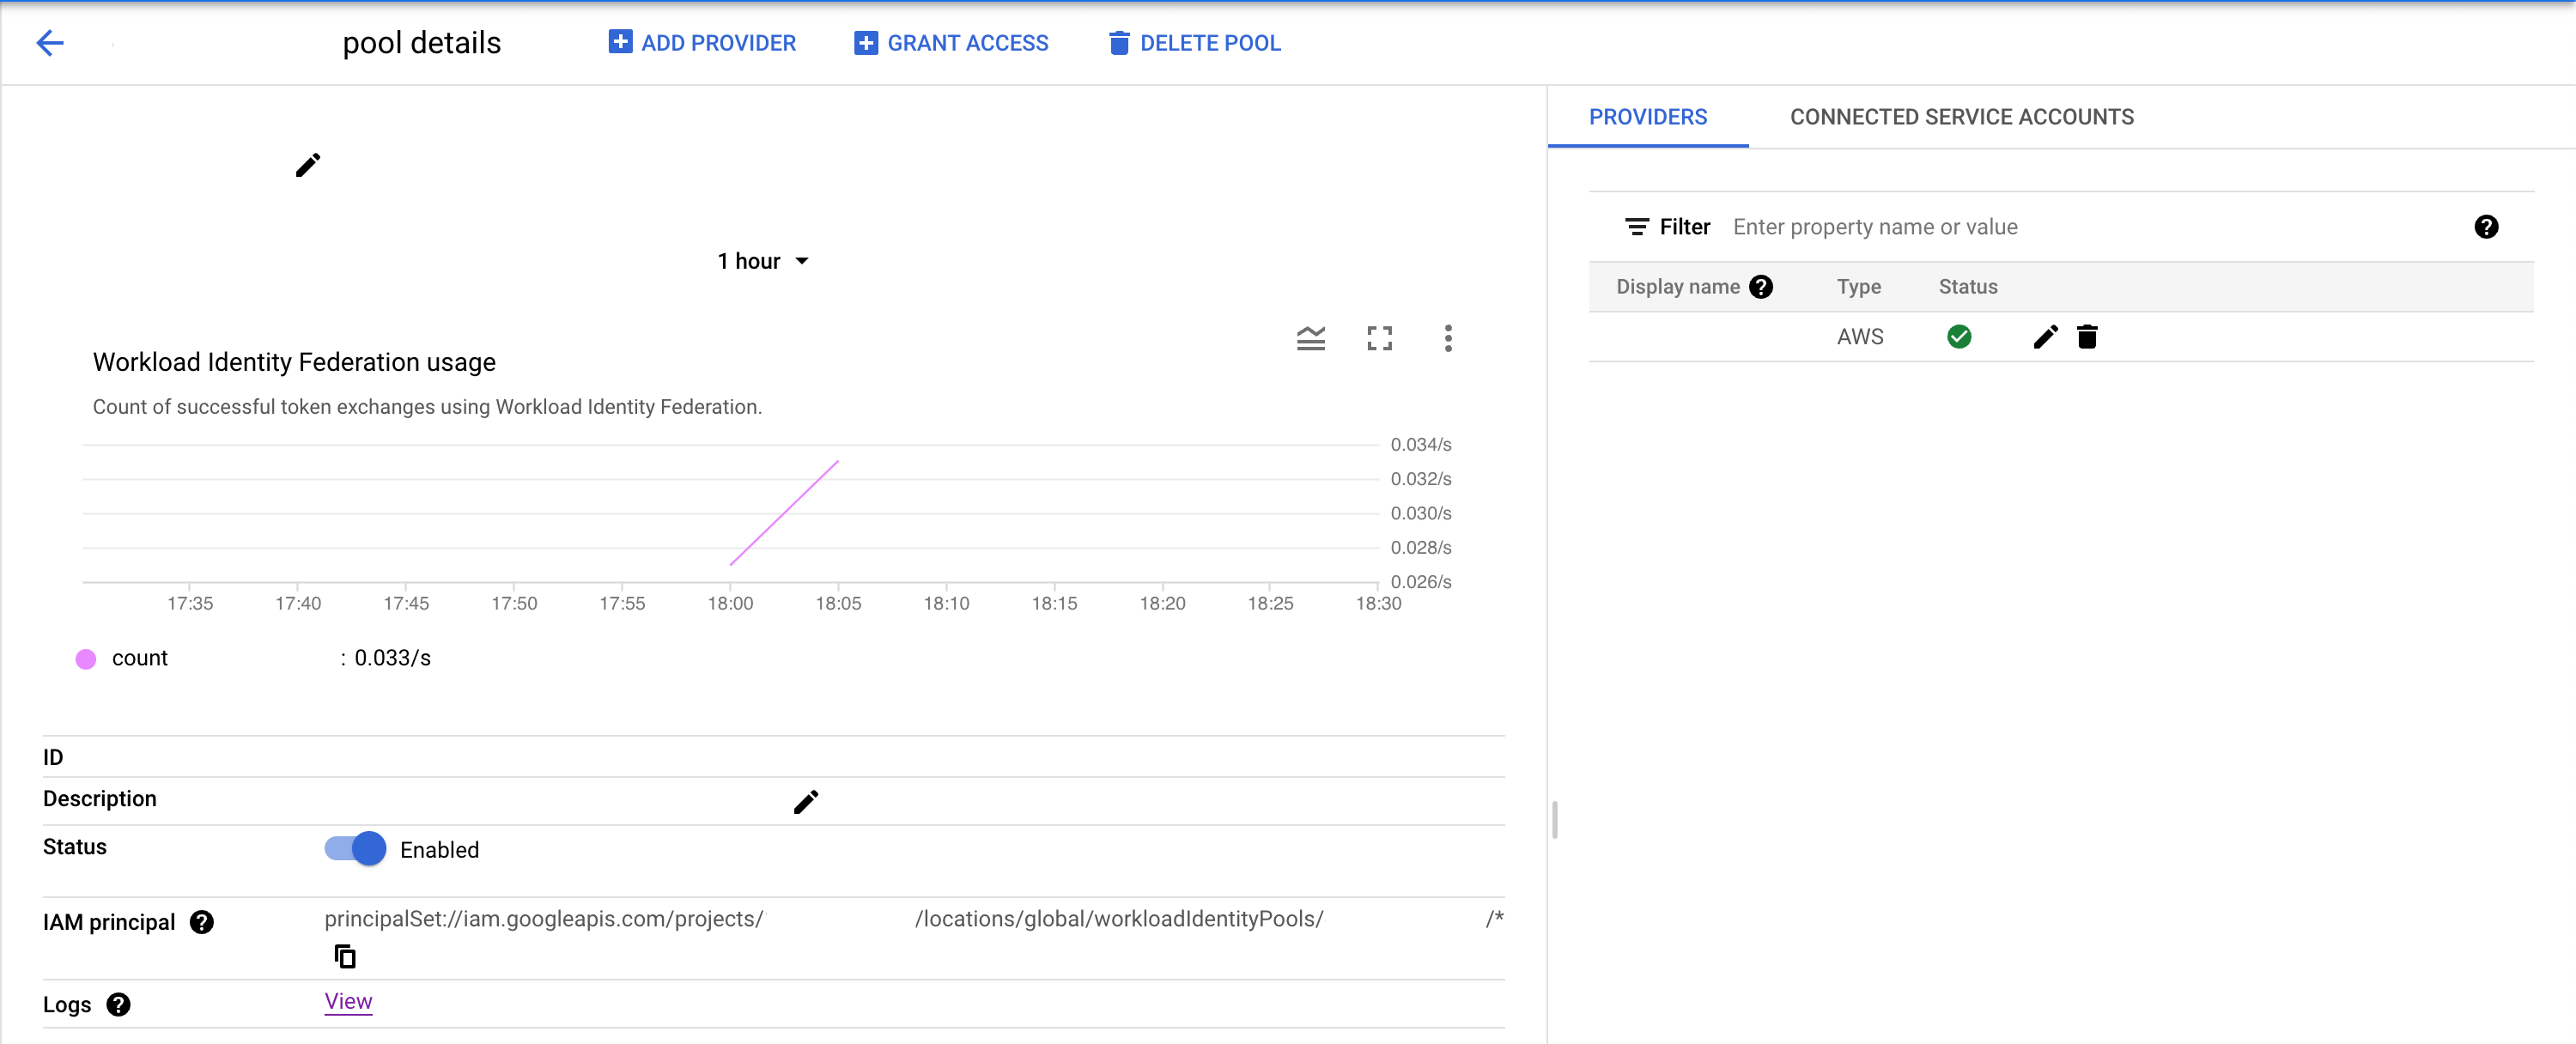
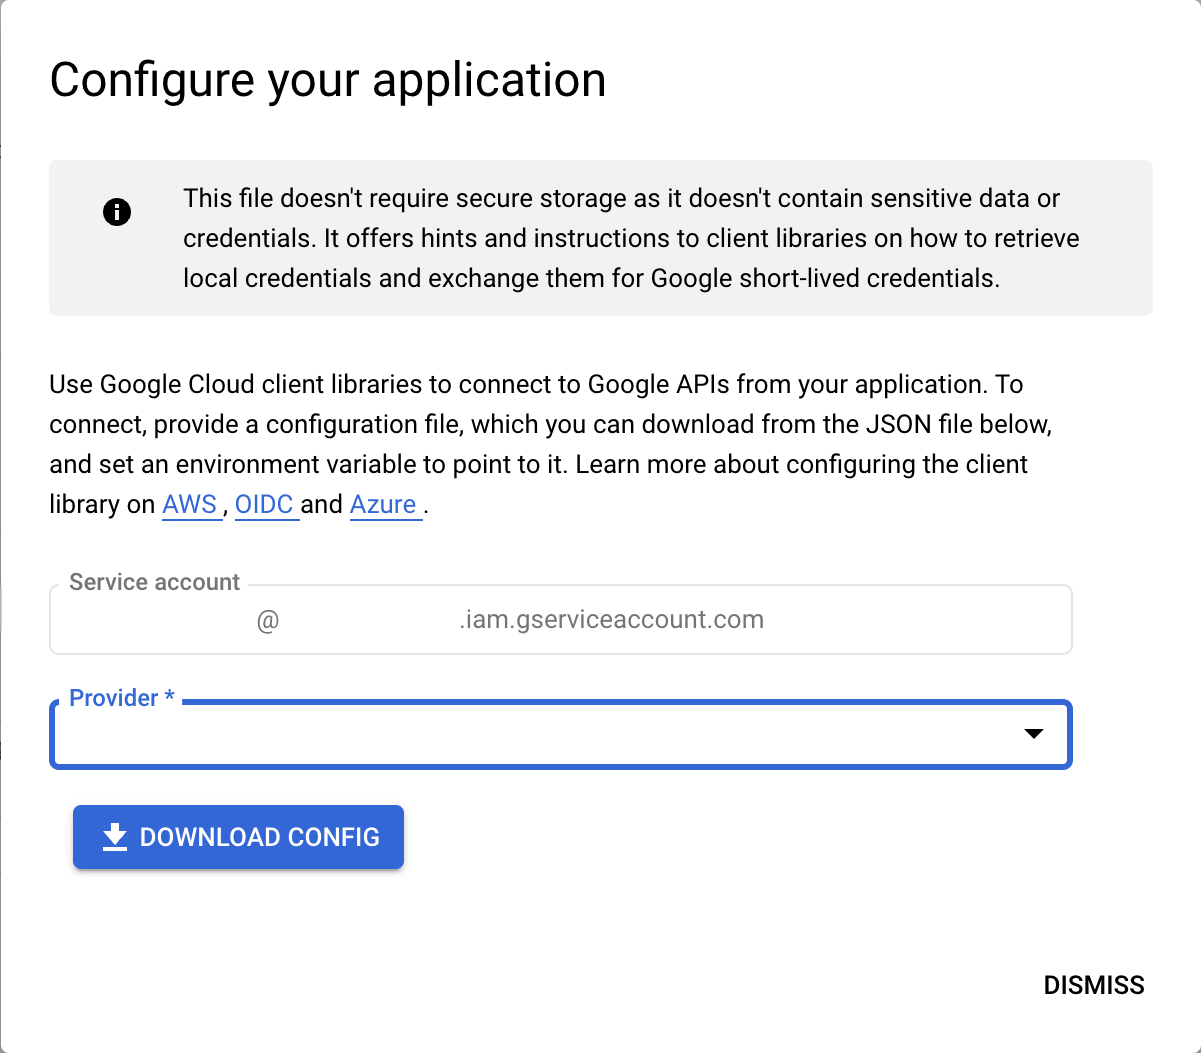
The Client library config needs to be downloaded, this can be achieved by navigating to the Workload Identity Pool and selecting the CONNECTED SERVICE ACCOUNTS Tab on the right side. The Client library config can be obtained from there. The file does NOT contain sensitive information.

Step 8: Configure CloudQuery
The downloaded Client library config needs to be uploaded to our Kubernetes as a config map.
kubectl -ncloudquery create configmap \
    cq-gcp-application-default-credentials \
    --from-file=./application_default_credentials.json
Now we just need to inject the Client library config into our Pod with the help of a volume mount. This can be achieved by adding those values into the values.yaml of the Helm Chart.
volumes:
- name: gcp
  configMap:
    name: cq-application-default-credentials
    items:
    - key: application_default_credentials.json
      path: application_default_credentials.json
volumeMounts:
- mountPath: /root/.config/gcloud/
  name: gcp
Conclusion
That’s it! Now you can ingest your configuration across clouds into a single PostgreSQL database, visualise with your favourite BI tool and build your own asset inventory, CSPM, search and any other use-case you have in mind!
